A combination of my two childhood favourites, Twix bars and Kinder chocolate, made vegan with healthy ingredients.
Preheat oven to 180C and line a square brownie tray with baking paper.
Mix all ingredients for the crust in a bowl and spread evenly on the square tray. Prick it all over with a fork to prevent it from rising.
Bake for 10-15 minutes until golden brown. Leave to cool on countertop then place in the freezer uncovered while you prepare the cream layer.
Mix all the ingredients in a blender. Start with 1/2 cup coconut cream and only add more if necessary, just enough to blend everything together.
Spread on chilled biscuit layer and place in the freezer to set for 2 hours or until it's firm to the touch.
Mix all the caramel ingredients in the blender. You can either use water, or ideally, use the leftover from that can of coconut cream you just opened to make the other layers.
Check that your filling is set, and if it is, spread the date caramel evenly on top.
If your filling is not yet set when you make the caramel, place the caramel in the fridge in an airtight container until it is.
Cover with a plastic wrap and leave to set for a few hours or overnight. We'll cover these in chocolate, so we want to make sure they're "set" enough to handle the heat without breaking apart.
Once the layers in the freezer are completely set, evenly slice them with a sharp knife and place back in the freezer as you prepare the chocolate coating.
Line a baking sheet with baking paper.
Melt chocolate in a double boiler. Alternatively, boil some water in a small pot and place a larger bowl on top of it to melt the chocolate. (Do not place the chocolate directly on the heat because it would likely burn)
Dip each bar into the chocolate. I find using a fork to dip it in, and a small spoon to turn the bars around works well.
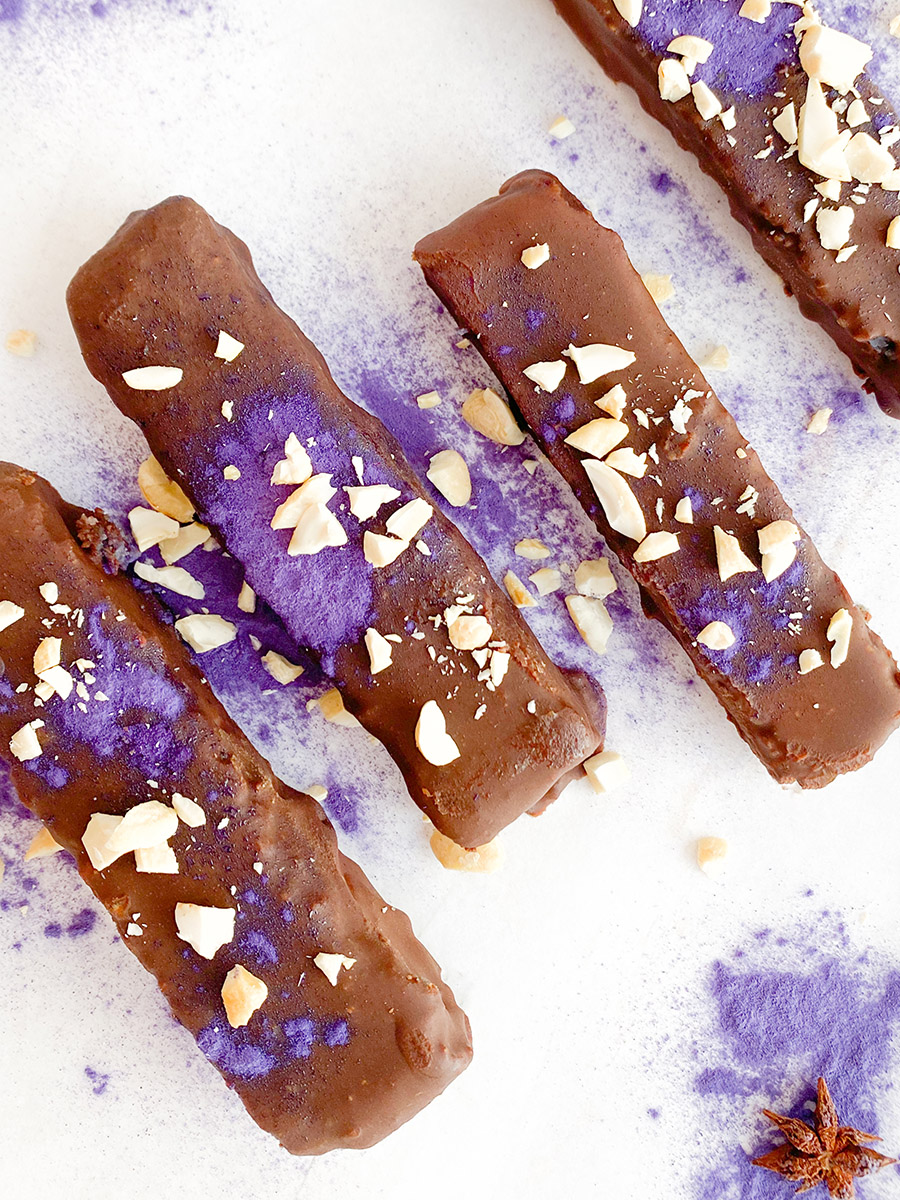
Place each dipped bar onto the baking sheet and place them in the freezer to set. These melt in your mouth straight out of the freezer, so no need to thaw them in advance to eat. Enjoy as is or with some sprinkled nuts on top.
Serving Size 1
Servings 0