Part of why I love baking is because it really satisfies my experimental side. In fact, I find vegan baking (and cooking) way more fun than traditional cuisines because it challenges me to come up with different ways of recreating non-vegan goods.
Ever since I developed that first sugar-free chocolate recipe I posted on the blog, I've been loving experimenting with different flavour combinations. However, that leads me to eating way too much chocolate. While I love the flavour and texture, I find that too much chocolate has me experiencing similar side effects to too much coffee. Chocolate also contains caffeine after all, and it also contains Theobromine which is known to have caffeine-like side effects. And you know what's almost as good as chocolate with none of the side effects? Carob!
Carob has a similar profile to chocolate (I won't lie and say it's exactly the same, it's not, but it really is good!) and offers a multitude of health benefits too, such as:
- Twice the amount of calcium as chocolate
- Excellent source of vitamins ( Vitamin A, B2, B3 and B6 )
- And of course minerals (Copper, Calcium, Manganese, Potassium, Magnesium, Zinc and Selenium)
- Dietary fiber
to name just a few (Source).
Another beauty of carob is that it's naturally sweet (as opposed to chocolate, which is extremely bitter on its own) so it doesn't really require much sugar to make it palatable. I went ahead and added in a handful of dates in this recipe to give it that oomph factor, but it's optional. And the best part is, you don't have to worry about getting chocolate nightmares (it's a thing that happens to me when I have too much, not sure if it actually happens to anyone else).
To give it some extra flavour and smoothness, I flavoured this with some coconut milk powder (which is one of my favourite ingredients these days). And the result is so delicious.
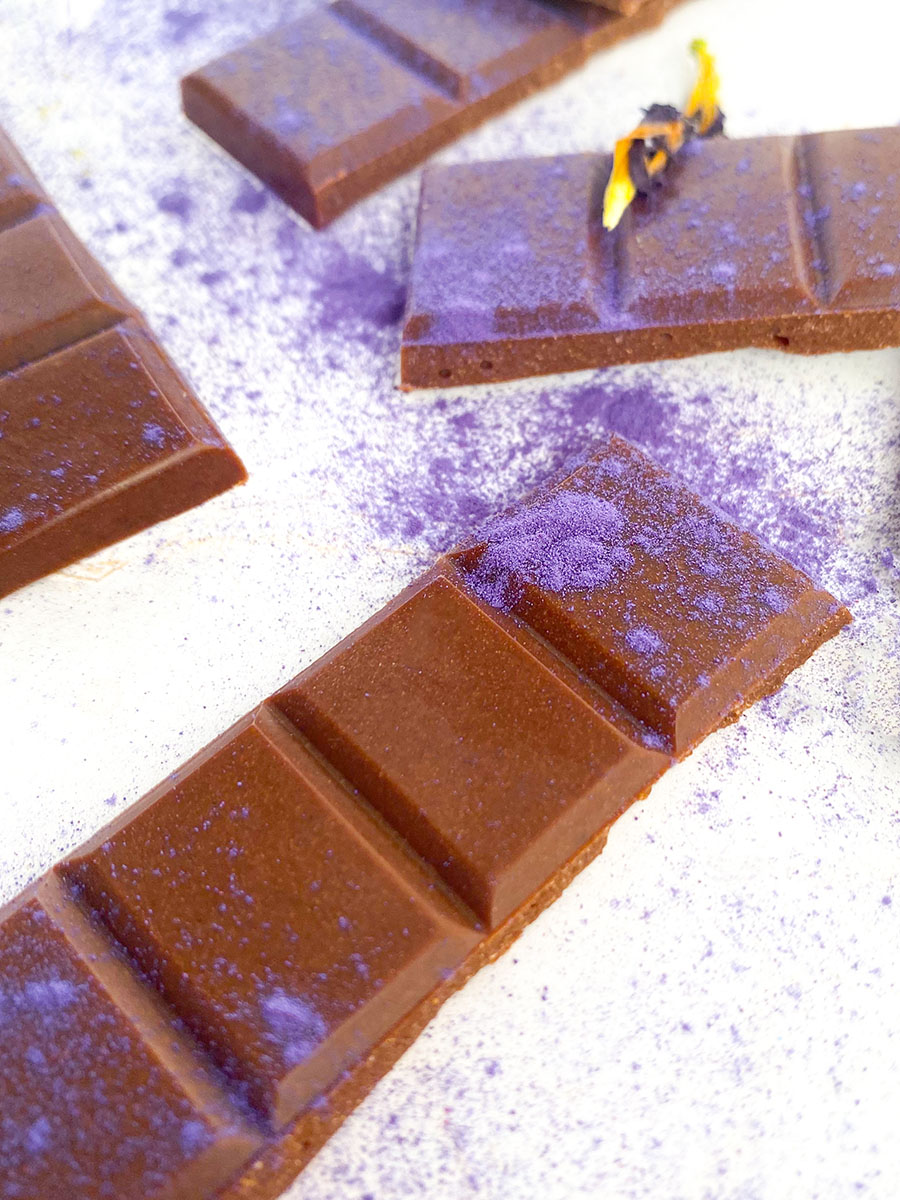
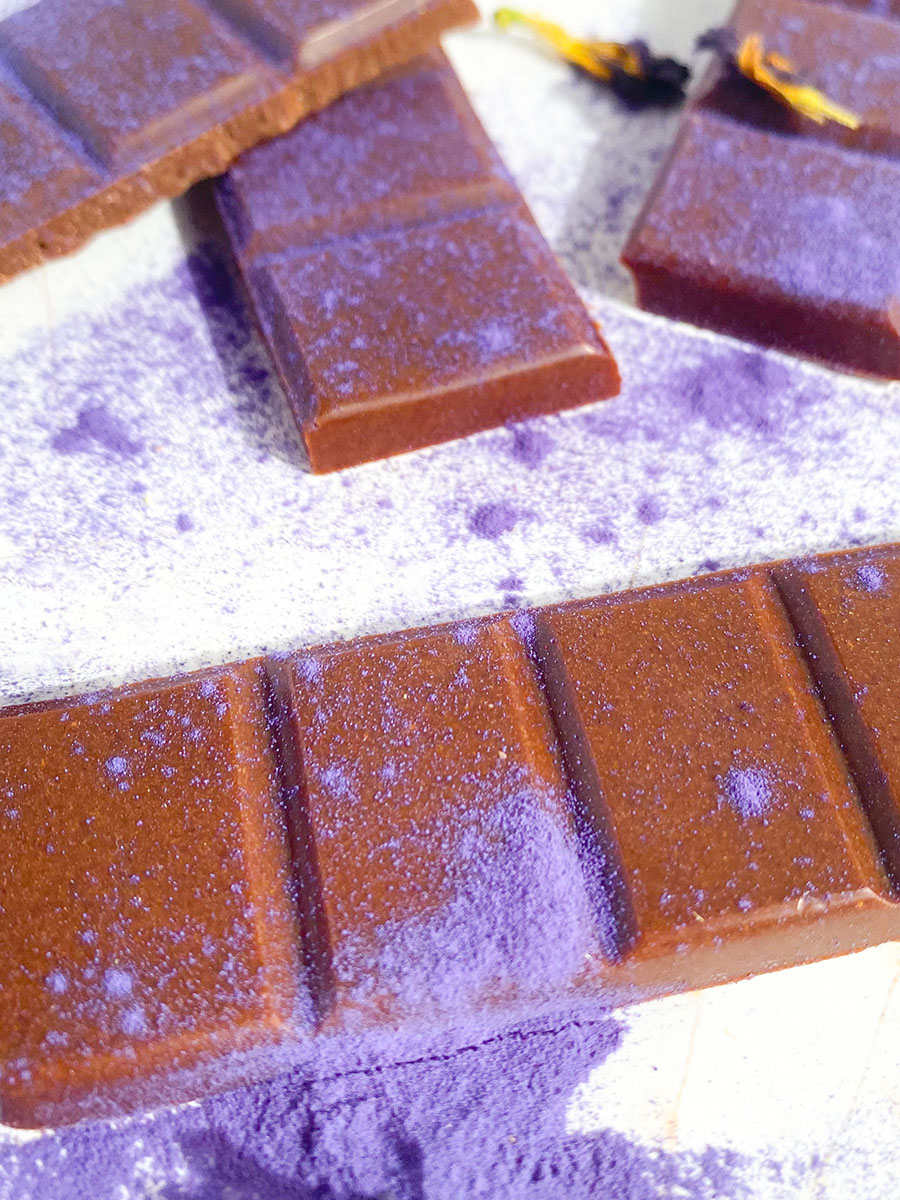
I got a little too excited when decorating these for the photos with some blue food powder, so the photos look messy. But honestly, the recipe is so good that I'd rather share it now rather than let my perfectionism take hold.
Scroll down for the recipe and let me know what you think in the comments section below!
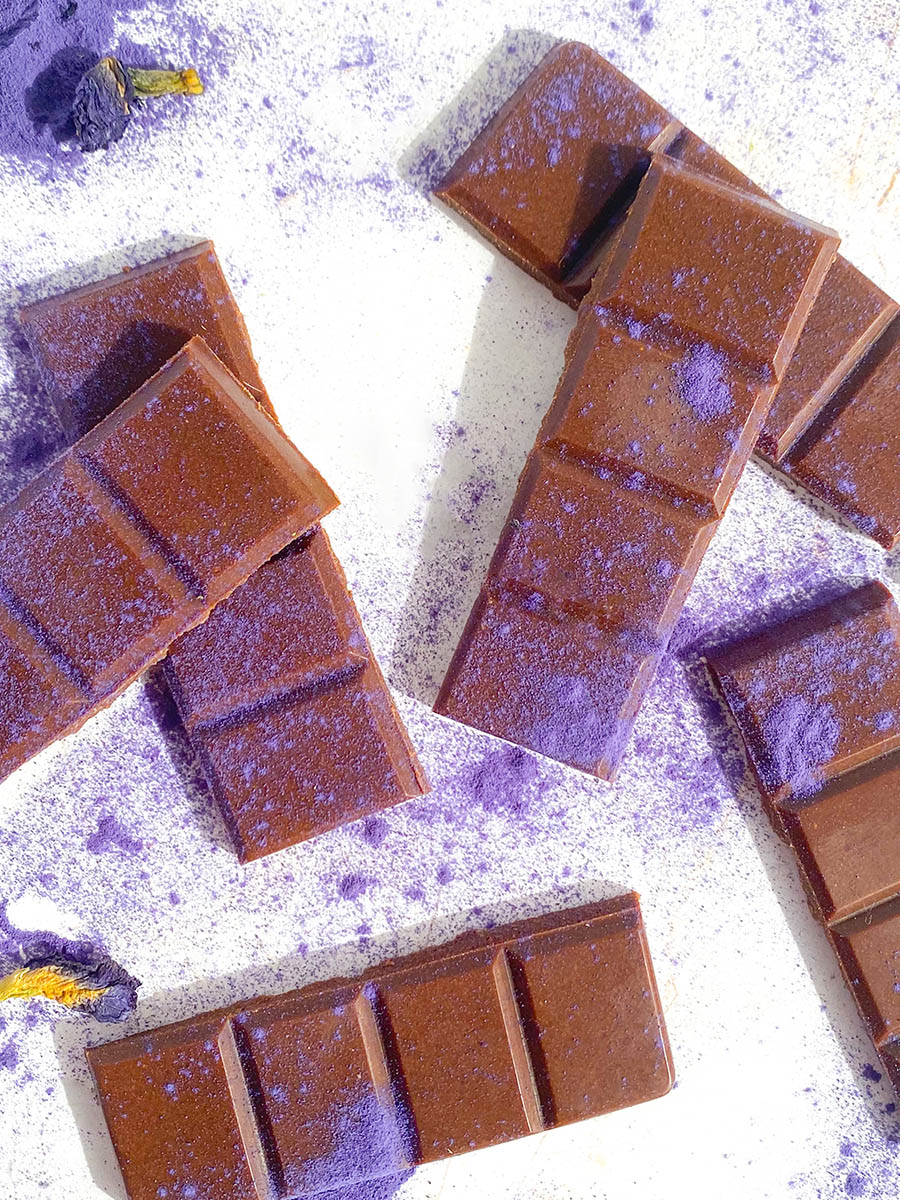
Blend everything in a highspeed blender and pour into chocolate moulds. Place in the fridge for 1-2 hours until it fully solidifies and enjoy!
This chocolate will last in the fridge for up to a month. I recommend you keep them in the fridge so that they maintain their hardness and "snap" because they melt fairly easily in room temperature.
Ingredients
Directions
Blend everything in a highspeed blender and pour into chocolate moulds. Place in the fridge for 1-2 hours until it fully solidifies and enjoy!
This chocolate will last in the fridge for up to a month. I recommend you keep them in the fridge so that they maintain their hardness and "snap" because they melt fairly easily in room temperature.

