It's interesting how one minute I'm extremely motivated to keep developing recipes and the next I can barely get myself to post things I already made. As you might have guessed, it's been more of the latter lately. So I thought to myself, what could I do to get my motivation back? Of course, the answer is chocolate!
It's a bit of a pet peeve of mine that it's virtually impossible to find sugar-free chocolate that doesn't contain sugar alcohols or stevia. Believe me, I looked! So I thought to myself, why not try my hand at making some? And it turned out better than I expected!
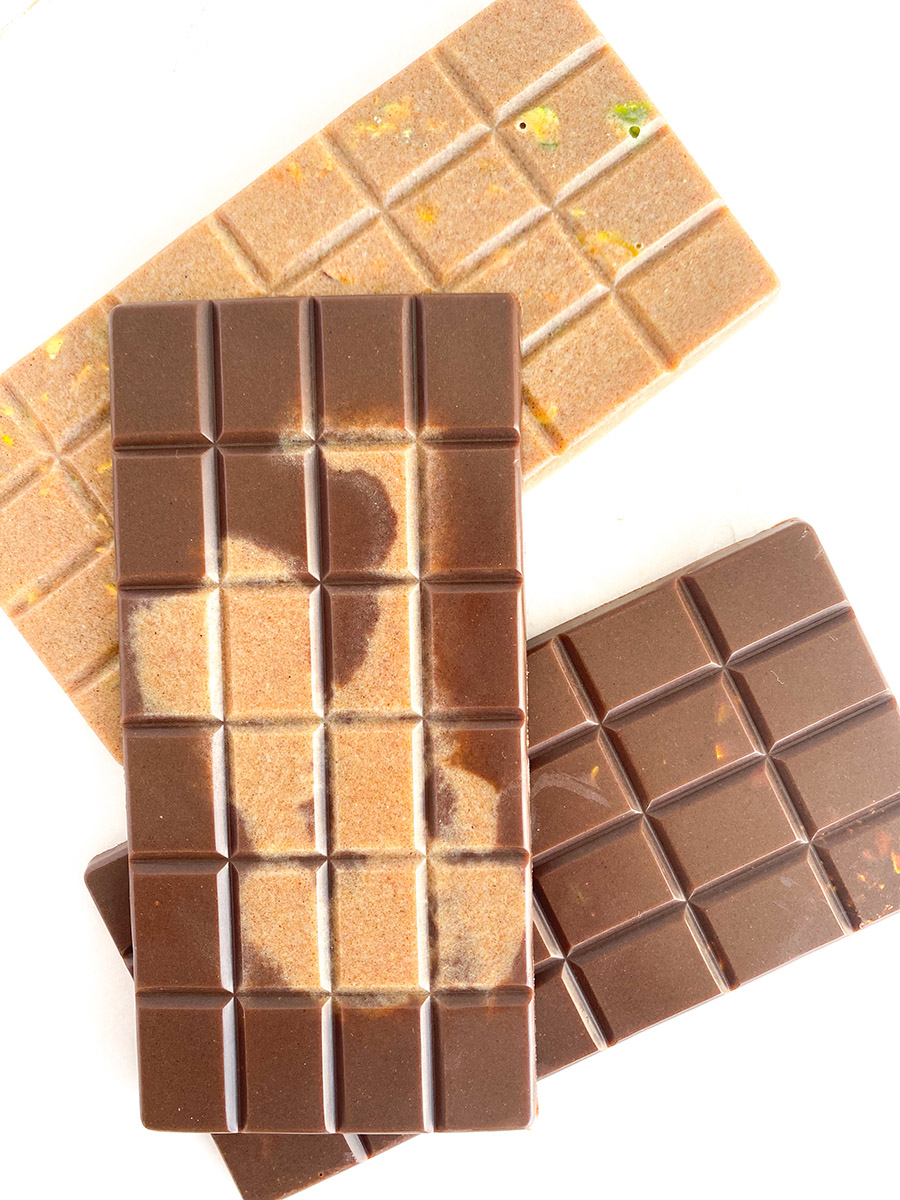
It won't come as a surprise that I used dates to sweetened this homemade chocolate. Over the years I had trouble blending the dates with cacao butter properly, it always turned into a chunky, gooey mess so I had to be creative. Adding some coconut milk powder and cashews helped emulsify all the ingredients together and the result was shiny, smooth chocolate.

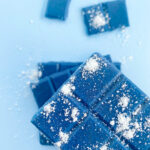
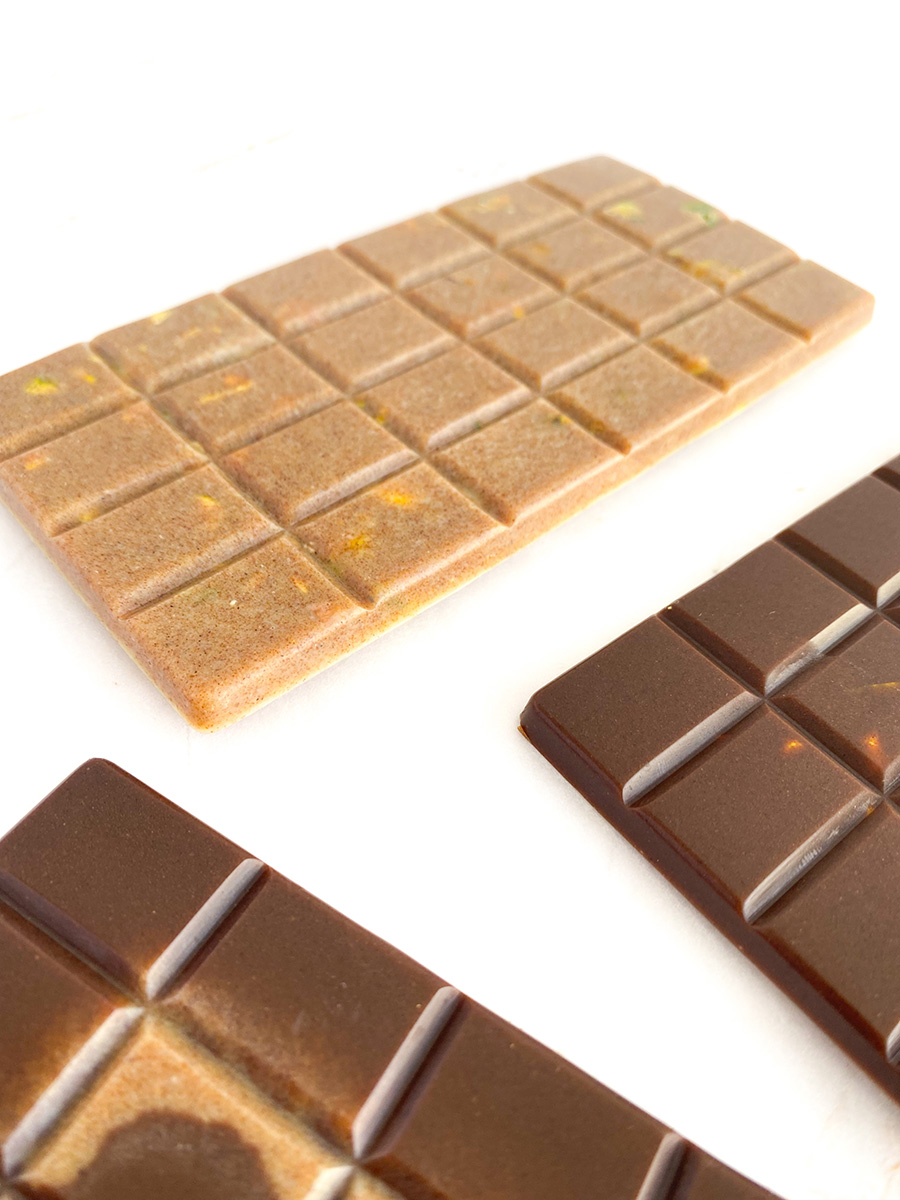
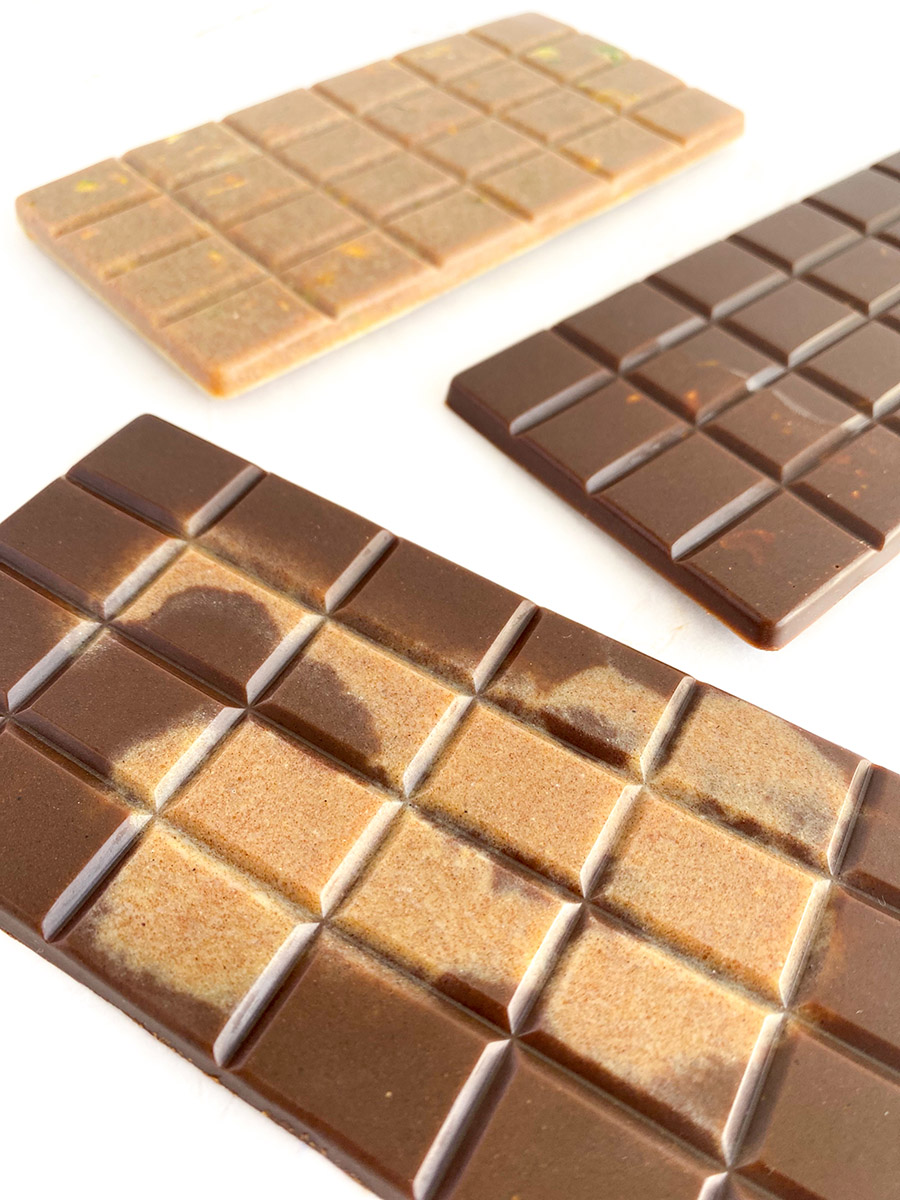
I came up with three variations as you can see in the photos. Vegan Milk Chocolate, Salted Caramel Chocolate and Happy Cows Chocolate (inspired by Milka Happy Cows which I used to love when I was younger) They all taste amazing, and the beauty of this recipe is that you can do all of them together.
I used these chocolate molds that I bought from Amazon. But if you don't want to invest in any, you could easily use a muffin tin, ice cube tray or even a lined brownie pan to make these.
But before we dive into the recipe, I would like to mention why I'm wary of sugar alcohols that are commonly found in sugar-free chocolate (and other candy).
Sugar Alcohols
These include sweeteners such as Xylitol, Maltitol and Erythritol to name a few. The main problem is they go through largely undigested, so they travel to the large intestine where they are metabolised by gut bacteria. This means that they can cause gas, bloating and diarrhoea especially when confused in large amounts. Some are even known to cause nausea and headaches. Besides, they can also cause weight gain because even if they're not as caloric as table sugar, they still contain calories. (Source)
Stevia
As for Stevia, I personally cannot tolerate it at all. I went through a phase where I was having a lot of chocolate sweetened with Stevia as well as using toothpaste that also contained it and I had nonstop heart palpitations. I experimented with diet and cut things one by one, and as soon as I stopped eating Stevia, I was back to normal! While this may be a rare side effect, some other known and more common side effects of Stevia include kidney damage, indigestion, low blood sugar and low blood pressure. (Source) I don't know about you, but I personally think that's too much of a risk just to enjoy something sweet.
As you can see, dates and other fruit are a much better option to these sweeteners. They come with their own natural fiber, antioxidants and other nutrients so they have a much gentler effect on your blood sugar and they even provide some additional health benefits.
I hope you like this homemade vegan chocolate recipe as much as I do and please let me know what you think in the comments below if you make the recipe. Don't forget to @revelinplants on Instagram for more recipes!
Blend together dates, coconut milk powder and vanilla. Make sure not to use vanilla extract (use powder or bean) because the liquid would make them clump up. Blend until it resembles together the texture of coarse sand and stop if you notice it clumping up.
Melt cacao butter on low heat on the stove or in the microwave. Using a double-boiler (or putting a larger bowl on top of a smaller pot of boiling water works best) If you have a strong enough blender, you can also add chunks of cacao butter and let it run till it melts.
Pour the melted cacao butter over the date/coconut milk mixture in the blender and add the cashews. Start blending on low heat gradually increasing to max speed. Use the tamper of necessary to push things down gently and scrape the sides. It’ll look like a clumpy mess at first, but then it’ll turn into a smooth liquid.
When the mixture turns smooth, pour into chocolate molds. (There should be enough mixture for 6 bars if you use the suggested mold) You may want to pour some of the mixture as is first and sprinkle some Mimalayan or Maldon salt for Salted Caramel Chocolate. And add cocoa powder into the remaining mixture to make Vegan Milk Chocolate. Or even combine the two to make White/Dark Chocolate like Milka Happy Cows! The possibilities are endless, so feel free to experiment with your own flavour combinations.
After pouring the mixture into molds, sprinkle chopped pistachios (or any other nuts) on top.
Place in the fridge until firm. This should take about an hour. These are best kept in the fridge to maintain its hardness and will last for at least one month. Enjoy!
Ingredients
Directions
Blend together dates, coconut milk powder and vanilla. Make sure not to use vanilla extract (use powder or bean) because the liquid would make them clump up. Blend until it resembles together the texture of coarse sand and stop if you notice it clumping up.
Melt cacao butter on low heat on the stove or in the microwave. Using a double-boiler (or putting a larger bowl on top of a smaller pot of boiling water works best) If you have a strong enough blender, you can also add chunks of cacao butter and let it run till it melts.
Pour the melted cacao butter over the date/coconut milk mixture in the blender and add the cashews. Start blending on low heat gradually increasing to max speed. Use the tamper of necessary to push things down gently and scrape the sides. It’ll look like a clumpy mess at first, but then it’ll turn into a smooth liquid.
When the mixture turns smooth, pour into chocolate molds. (There should be enough mixture for 6 bars if you use the suggested mold) You may want to pour some of the mixture as is first and sprinkle some Mimalayan or Maldon salt for Salted Caramel Chocolate. And add cocoa powder into the remaining mixture to make Vegan Milk Chocolate. Or even combine the two to make White/Dark Chocolate like Milka Happy Cows! The possibilities are endless, so feel free to experiment with your own flavour combinations.
After pouring the mixture into molds, sprinkle chopped pistachios (or any other nuts) on top.
Place in the fridge until firm. This should take about an hour. These are best kept in the fridge to maintain its hardness and will last for at least one month. Enjoy!

