I've been drawing on some childhood favourites to come up with recipes for the blog. It's a great feeling not only being able to veganize stuff you used to love, showing people that vegan food can be just as delicious but also because this way, I get to enjoy stuff that I haven't had for years since turning vegan.
It's very common to stock up on chocolate for the holidays in Turkey, and I remember multiple occasions when my parents weren't able to serve any to guests cause I sneakily ate them all 😂 Often, it was a whole box of Ferrero Rocher that I would polish up in a day or two. There's just something about that chocolate and hazelnut combination that's irresistible. So I thought, why not try to turn it vegan for the blog?

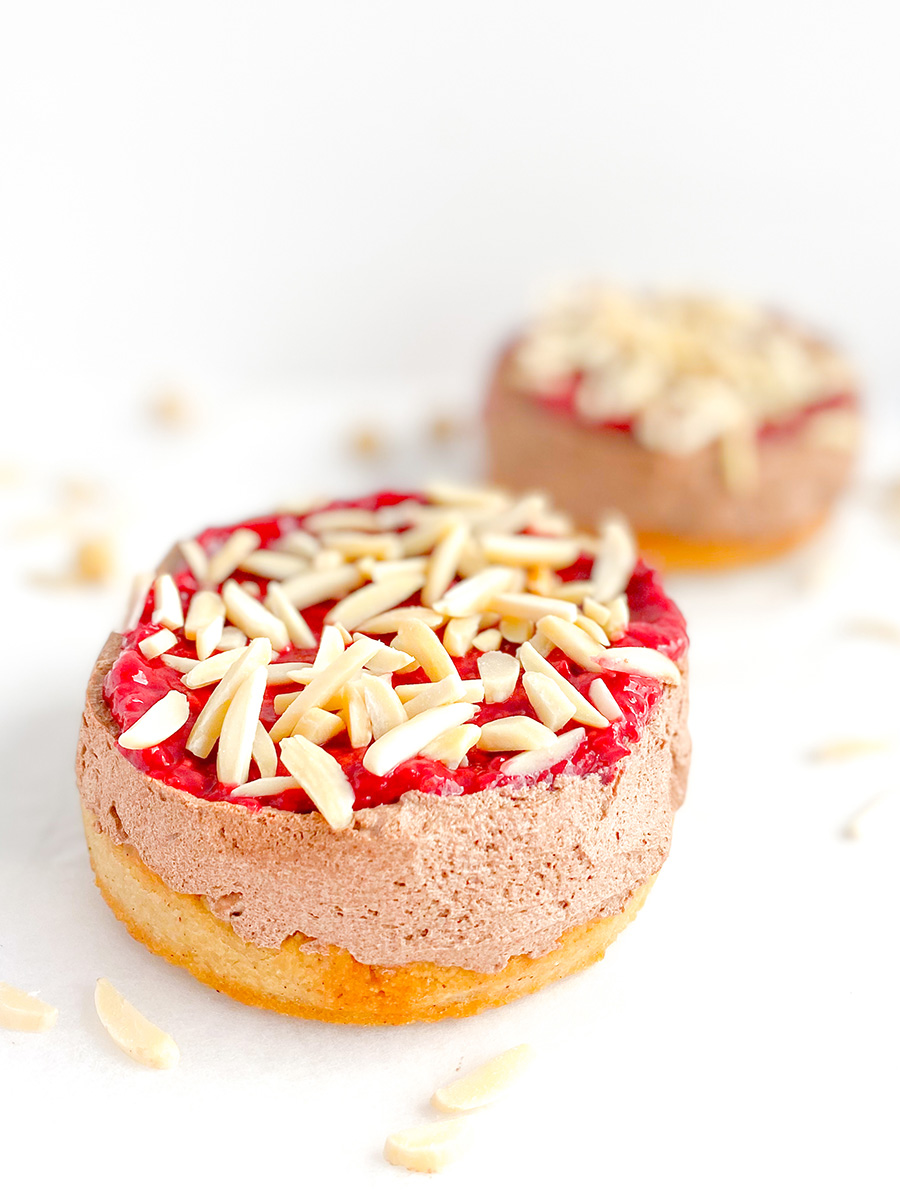
It tends to be a bit tricky sometimes, making things sugar-free, oil-free, gluten-free and vegan at the same time. In this case, while the flavour was incredible, the mixture was perhaps too thin and melty to turn into balls. So I thought these would make a great tart, pouring the mixture over a baked crust. But I was feeling particularly experimental, so I thought why not try whipping this with the mixer? And the result is incredible and perhaps one of my favourite recipes I ever created. Whipping this mixture gives it a really soft, airy texture but it's also decadent and flavourful. It's almost like eating chocolate whipped cream out of a can, but it happens to be free of sugar, gluten, oils and dairy. With an amazing hazelnut flavour.

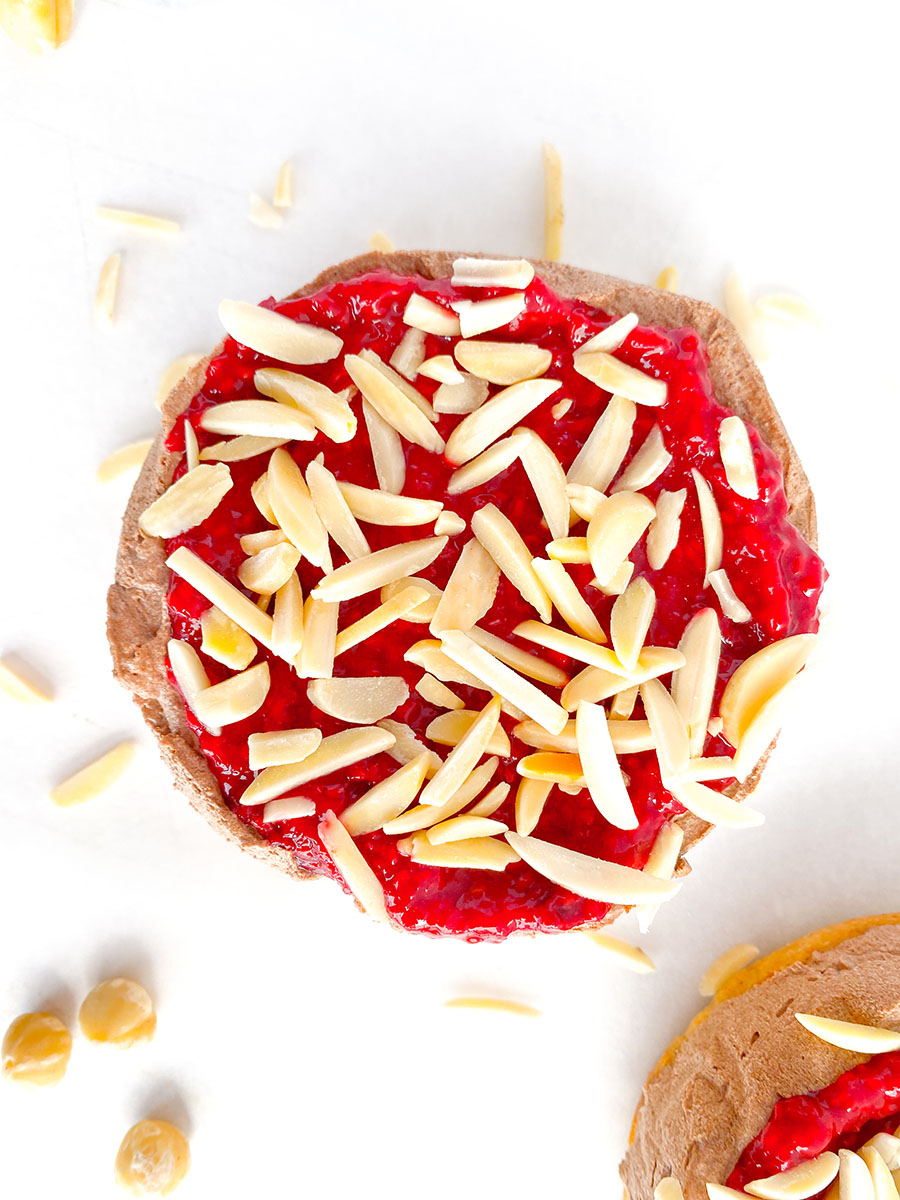
I recently bought some mini springform pans, so I decided to make tartelets. But the recipe would definitely work for one large tart as well. Being in an experimental mood, I also quickly whipped up a raspberry sauce to top the tartlets with. I find that the acidity from raspberries compliments chocolate very well. Add some slivered almonds or chopped hazelnuts, and you're in heaven.

Blend all the filling ingredients in a high-speed blender.
Place in the fridge until compelte cooled and solidified. (minimum 4 hours, ideally overnight) Meanwhile, make the raspberry filling and the crust.
When all the layers are ready, whip the filling with a mixer until light and airy. Place back in the fridge until ready to use.
Cook raspberries and coconut water together until it's a thick, jam-like consistency. (Keep in mind it will solidify more in the fridge) Make sure to stir often, and add vanilla last after cooking (because we don't want it to dissipate in the heat.)
Place in the fridge to cool down until ready to use.
Preheat oven to 180C and line either a springform pan or 4 mini springform pans with baking paper. I like to cut thin strips to line the sides too, but you may lightly grease if you prefer.
Mix all the ingredients in a medium sized bowl and press the dough onto the springform pan(s). Prick the crust with a fork all over (this prevents rising)
If you used one large springform pan, bake for 20 minutes or until golden brown. If you used mini springform pans, bake them for about 10 mins or until golden brown. Let cool completely.
Scoop out the whipped chocolate filling over the crust. Top with raspberry jams. For an added crunch, top with some chopped nuts (I used slivered almonds, but chopped hazelnuts would work very well too.) Enjoy!
Ingredients
Directions
Blend all the filling ingredients in a high-speed blender.
Place in the fridge until compelte cooled and solidified. (minimum 4 hours, ideally overnight) Meanwhile, make the raspberry filling and the crust.
When all the layers are ready, whip the filling with a mixer until light and airy. Place back in the fridge until ready to use.
Cook raspberries and coconut water together until it's a thick, jam-like consistency. (Keep in mind it will solidify more in the fridge) Make sure to stir often, and add vanilla last after cooking (because we don't want it to dissipate in the heat.)
Place in the fridge to cool down until ready to use.
Preheat oven to 180C and line either a springform pan or 4 mini springform pans with baking paper. I like to cut thin strips to line the sides too, but you may lightly grease if you prefer.
Mix all the ingredients in a medium sized bowl and press the dough onto the springform pan(s). Prick the crust with a fork all over (this prevents rising)
If you used one large springform pan, bake for 20 minutes or until golden brown. If you used mini springform pans, bake them for about 10 mins or until golden brown. Let cool completely.
Scoop out the whipped chocolate filling over the crust. Top with raspberry jams. For an added crunch, top with some chopped nuts (I used slivered almonds, but chopped hazelnuts would work very well too.) Enjoy!


