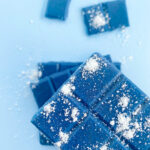
I think my obsession with homemade chocolate is taking a slightly dangerous turn. Today I came up with a new recipe for sugar-free, vegan Ruby Chocolate and I ended up eating all three. But I have no regrets. Out of all the chocolates I made so far for the blog, I think this is my favourite!
Ruby chocolate is a fairly new invention that was really hyped up a couple of years back. Normally, it is made by "underfermenting" the cacao beans prior to making chocolate which is said to give it a pink hue. It's made to taste almost exactly like white chocolate, with a bit of a light tanginess. However, how it's exactly made seems to be a trade secret. So I will admit this recipe is not Ruby Chocolate in its truest sense, but a copycat using dragonfruit powder for the colour and a bit of subtle sourness that it provides.
Even though I love making chocolate recipes for the blog, I find the photos always come out somewhat uninspriring. There's something about chocolate bars that makes them hard to shoot. I think it might be because they're quite flat in shape, so the photos never really pop. And when I add some more props (like a glass of non-dairy milk etc) they just look very disproportionate together. But I can assure you the amazing taste and texture of this chocolate will make you forget all about my average photos of it.
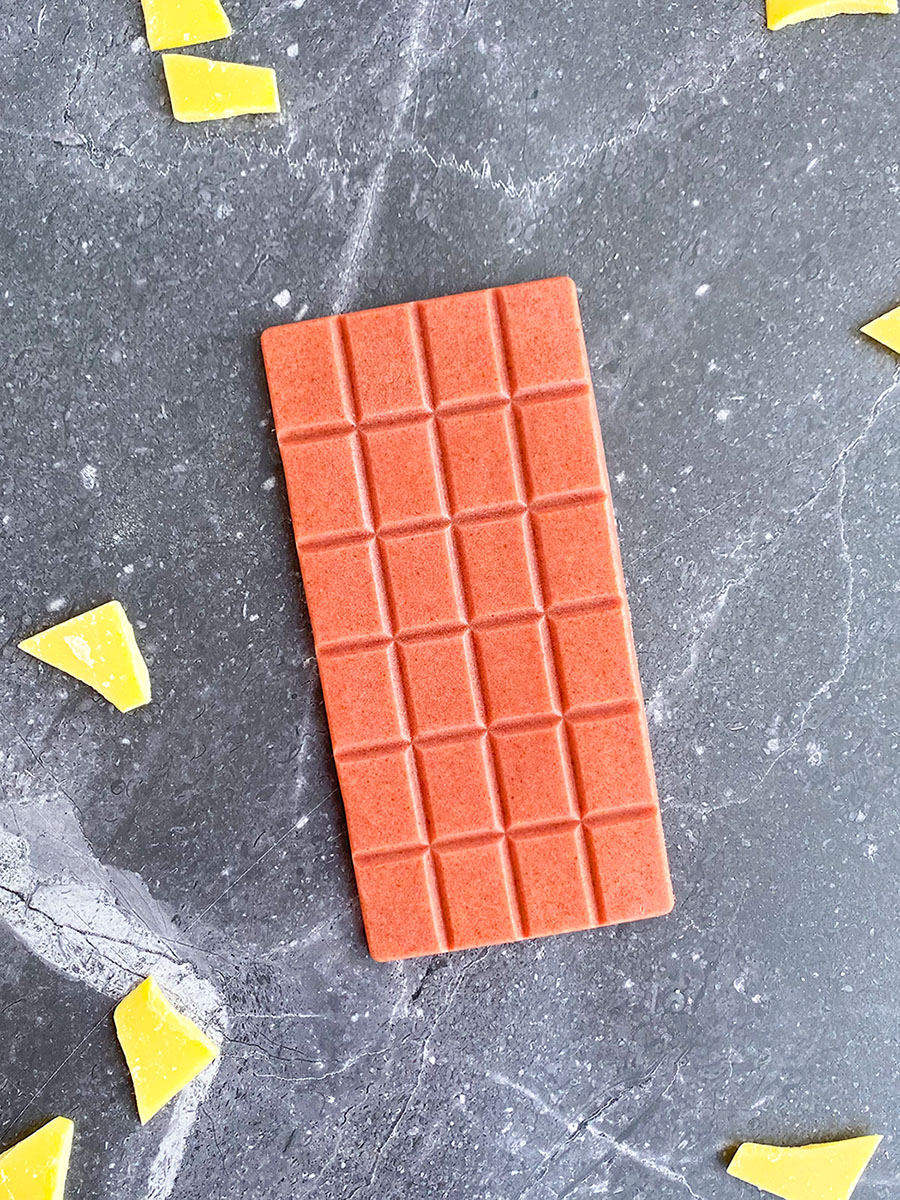
As usual, this chocolate is sweetened with dates instead of sugar. And I used coconut milk powder to give it that milky taste and texture. So delicious! I also realised that I can in fact use liquid vanilla extract in these chocolate recipes. In the previous chocolate recipes I posted, you might have mentioned I said not to use extract but to opt for powder instead. This is because years ago when I was making my own chocolate, I found that any liquid ingredient such as vanilla was casing the chocolate to thicken up and "seize". However, with these particular recipes, especially with the addition of cashews, vanilla is emulsified into the mixture quite well.
If you make this recipe, please let me know what you think in the comments section below. Hope you enjoy this recipe as much as I did!
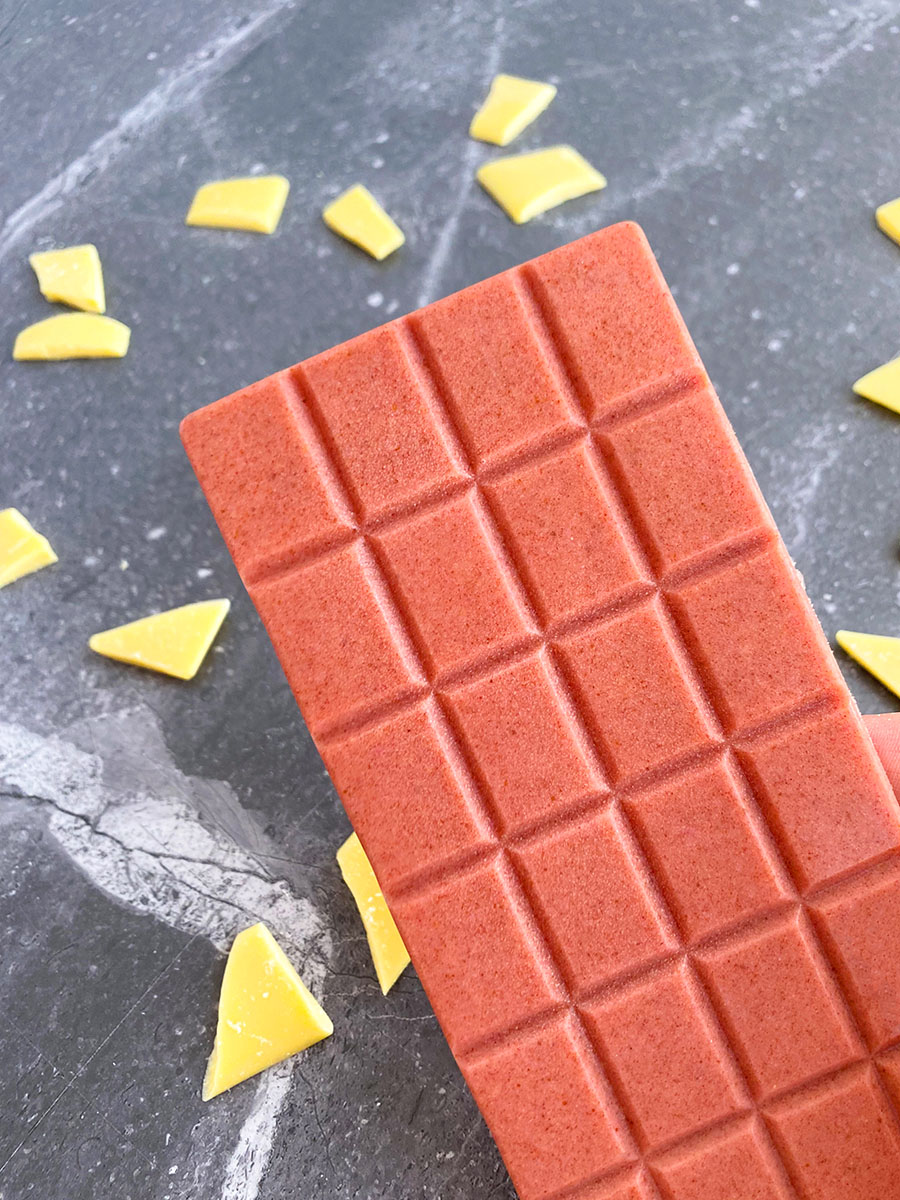
Blend everything in a highspeed blender until completely smooth, making sure to scrape the sides as you go. Pour into chocolate moulds (This recipe makes 3 chocolate bars if you use a similar mould to what I used in the photos). Place in the freezer to set.
Note: I found that this is best kept in the freezer because the cold gives it that perfect snap that melts in your mouth. This will keep in the freezer for up to 3 months, or in the fridge for up to 1 month.
Ingredients
Directions
Blend everything in a highspeed blender until completely smooth, making sure to scrape the sides as you go. Pour into chocolate moulds (This recipe makes 3 chocolate bars if you use a similar mould to what I used in the photos). Place in the freezer to set.
Note: I found that this is best kept in the freezer because the cold gives it that perfect snap that melts in your mouth. This will keep in the freezer for up to 3 months, or in the fridge for up to 1 month.

