I always loved the idea of creating my own Twix, Kitkat or Snickers bars however i’ll admit they all seemed quite laborious and i’m way too impatient.
However, lockdown gave me some extra time so I figured why not try my hand at creating my own. I’ll admit there are quite a few steps to this recipe, however most involve chucking the ingredients in the blender so it’s actually not all that laborious. Spreading it across two days while letting the layers set also made it seem easier.
So if you’re like me and are usually scared off by recipes with too many steps, i encourage you to give these a go anyway!
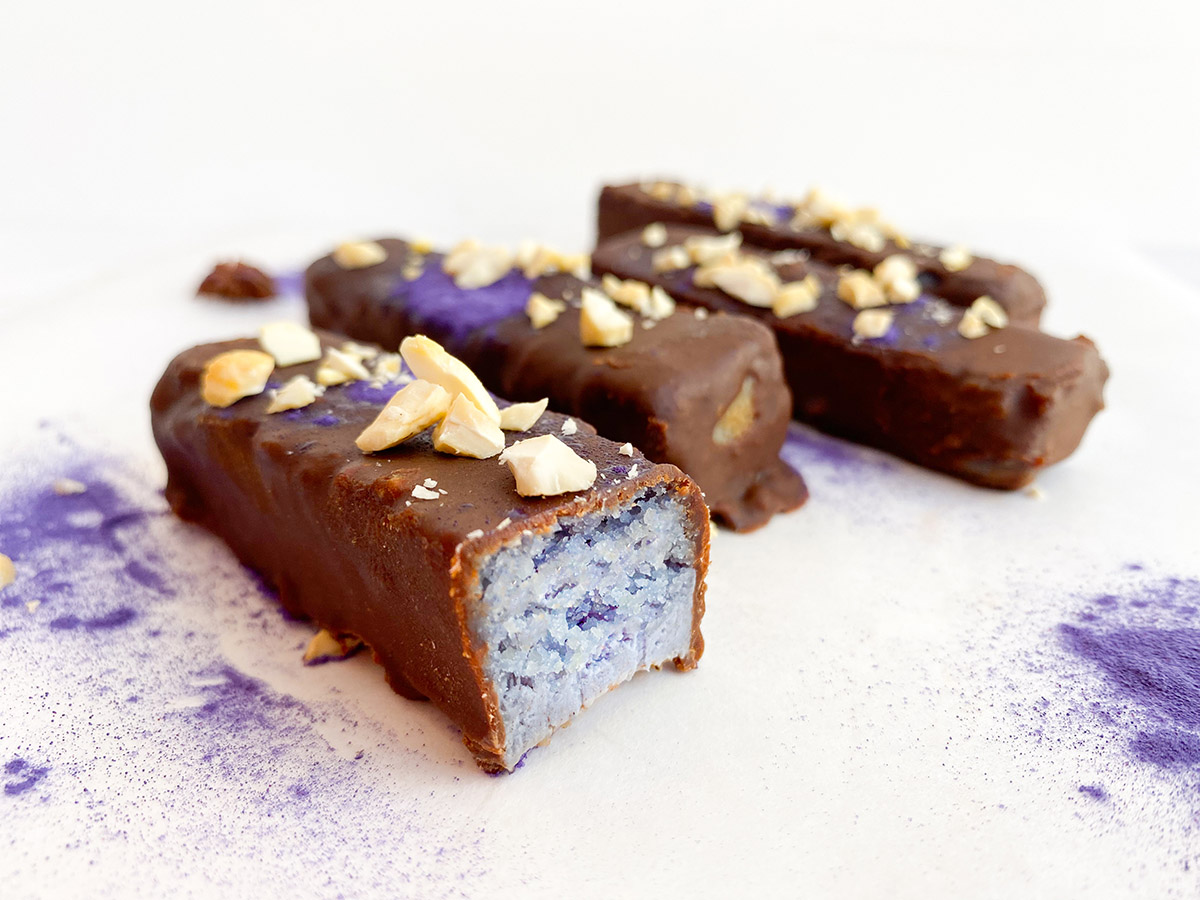
The inspiration for this recipe came from a couple of things. First one is obviously Twix bars, with the biscuit and l caramel layers. However, I wanted to give it my own twist and added an extra vanilla cream layer. I was obsessed with Kinder bars as a kid, so I wanted to replicate that delicious white layer in-between the chocolate coating. So I guess we could call this a mix of my two childhood favorites.
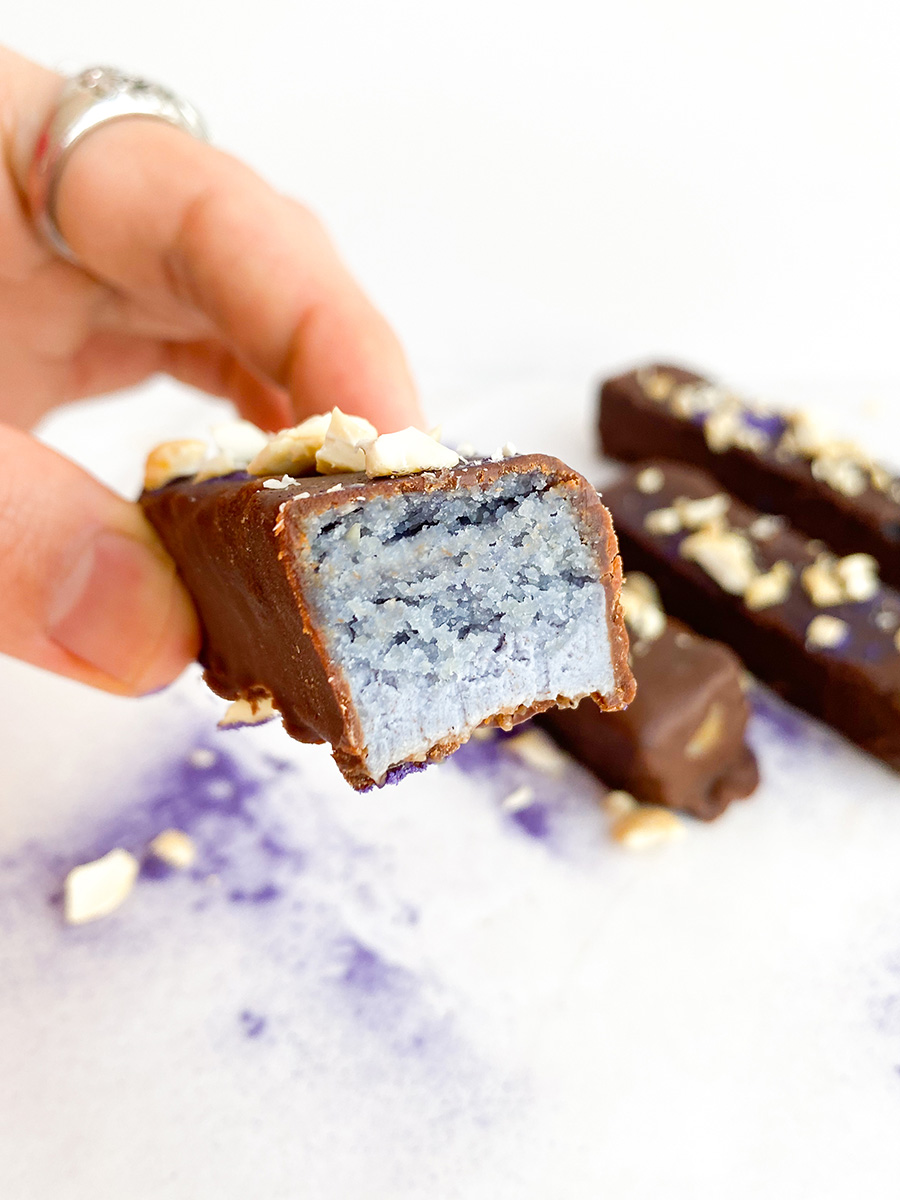
As with any dessert recipe I make or post on the blog, these are free from refined oils or sugars and rely on dates for sweetness. Because I use dates quite often, I usually opt for the cheaper (albeit dryer) variety from the supermarket. Soaking them in water beforehand makes them softer and easier to blend. However, if you prefer to use Medjool dates, you’re more than welcome to do so. The caramel layer is also somewhat thin, so not overly visible in the photos, but the flavour is definitely there! But if you prefer a thicker layer, feel free to double the caramel recipe.
Because I wanted to keep this sugar-free, I opted for melted carob chocolate for the coating. Carob is naturally sweet on its own and doesn’t require any added sugar. There’s plenty of sugar-free chocolate bars around, but they often contain Stevia or sugar alcohols, none of which I tolerate well. But feel free to make a decision based on your preferences and what’s available to you. Any kind of chocolate should work in a pinch.

As for the blue colour of the biscuit and cream layers, that was just me experimenting with this blue powder I bought the other day. It probably made this recipe look mint flavored and it’s not (but it totally can be if you prefer, with a bit of peppermint oil) Of course, the blue powder is completely optional and it’ll turn out great with or without. In fact, they'll probably look more like actually Twix or Kinder bars without the blue.
All in all, i’m quite proud of how these turned out! They look and taste great, and the recipe makes plenty so i think these will be a great pre-gym snack for a quick boost of energy.
Which other popular candy bar would you like me to try and replicate next? Let me know in the comments!
Preheat oven to 180C and line a square brownie tray with baking paper.
Mix all ingredients for the crust in a bowl and spread evenly on the square tray. Prick it all over with a fork to prevent it from rising.
Bake for 10-15 minutes until golden brown. Leave to cool on countertop then place in the freezer uncovered while you prepare the cream layer.
Mix all the ingredients in a blender. Start with 1/2 cup coconut cream and only add more if necessary, just enough to blend everything together.
Spread on chilled biscuit layer and place in the freezer to set for 2 hours or until it's firm to the touch.
Mix all the caramel ingredients in the blender. You can either use water, or ideally, use the leftover from that can of coconut cream you just opened to make the other layers.
Check that your filling is set, and if it is, spread the date caramel evenly on top.
If your filling is not yet set when you make the caramel, place the caramel in the fridge in an airtight container until it is.
Cover with a plastic wrap and leave to set for a few hours or overnight. We'll cover these in chocolate, so we want to make sure they're "set" enough to handle the heat without breaking apart.
Once the layers in the freezer are completely set, evenly slice them with a sharp knife and place back in the freezer as you prepare the chocolate coating.
Line a baking sheet with baking paper.
Melt chocolate in a double boiler. Alternatively, boil some water in a small pot and place a larger bowl on top of it to melt the chocolate. (Do not place the chocolate directly on the heat because it would likely burn)
Dip each bar into the chocolate. I find using a fork to dip it in, and a small spoon to turn the bars around works well.
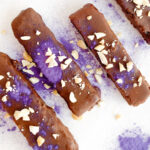
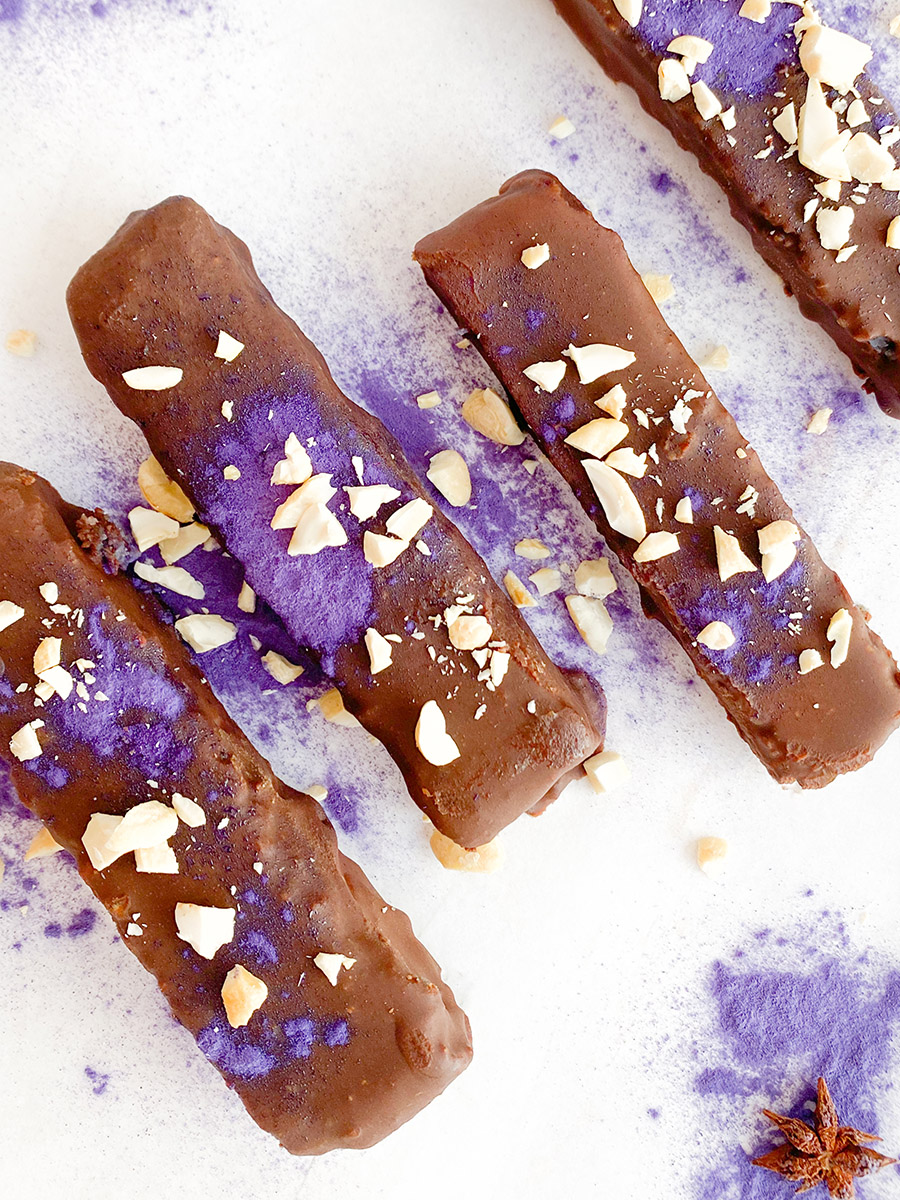
Place each dipped bar onto the baking sheet and place them in the freezer to set. These melt in your mouth straight out of the freezer, so no need to thaw them in advance to eat. Enjoy as is or with some sprinkled nuts on top.
Ingredients
Directions
Preheat oven to 180C and line a square brownie tray with baking paper.
Mix all ingredients for the crust in a bowl and spread evenly on the square tray. Prick it all over with a fork to prevent it from rising.
Bake for 10-15 minutes until golden brown. Leave to cool on countertop then place in the freezer uncovered while you prepare the cream layer.
Mix all the ingredients in a blender. Start with 1/2 cup coconut cream and only add more if necessary, just enough to blend everything together.
Spread on chilled biscuit layer and place in the freezer to set for 2 hours or until it's firm to the touch.
Mix all the caramel ingredients in the blender. You can either use water, or ideally, use the leftover from that can of coconut cream you just opened to make the other layers.
Check that your filling is set, and if it is, spread the date caramel evenly on top.
If your filling is not yet set when you make the caramel, place the caramel in the fridge in an airtight container until it is.
Cover with a plastic wrap and leave to set for a few hours or overnight. We'll cover these in chocolate, so we want to make sure they're "set" enough to handle the heat without breaking apart.
Once the layers in the freezer are completely set, evenly slice them with a sharp knife and place back in the freezer as you prepare the chocolate coating.
Line a baking sheet with baking paper.
Melt chocolate in a double boiler. Alternatively, boil some water in a small pot and place a larger bowl on top of it to melt the chocolate. (Do not place the chocolate directly on the heat because it would likely burn)
Dip each bar into the chocolate. I find using a fork to dip it in, and a small spoon to turn the bars around works well.
Place each dipped bar onto the baking sheet and place them in the freezer to set. These melt in your mouth straight out of the freezer, so no need to thaw them in advance to eat. Enjoy as is or with some sprinkled nuts on top.

